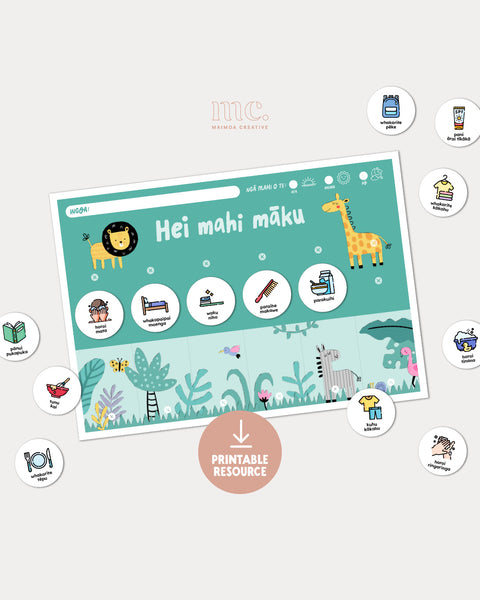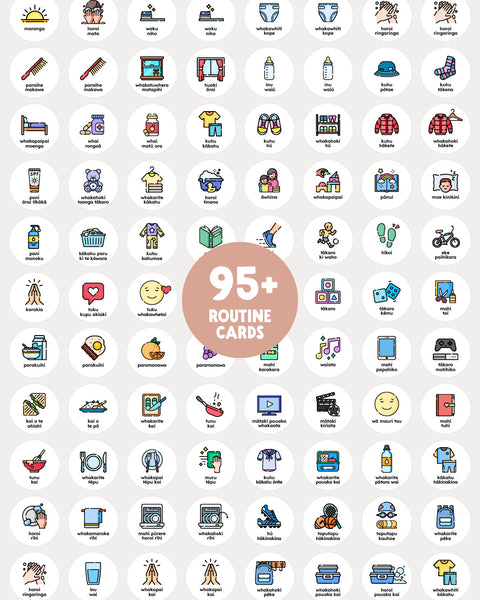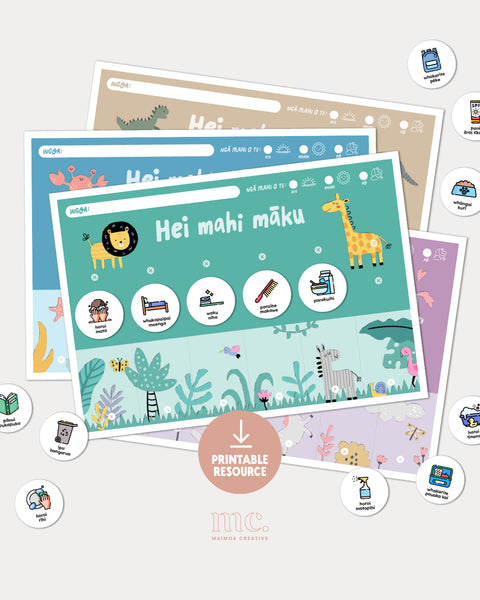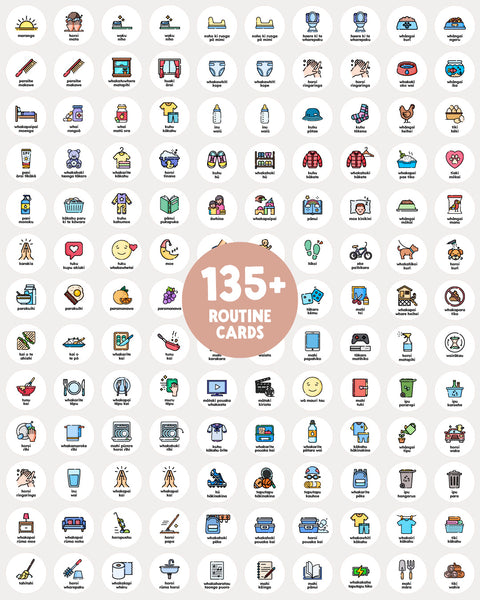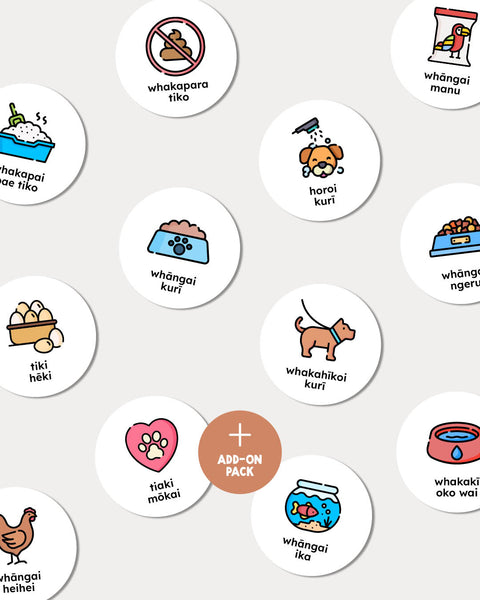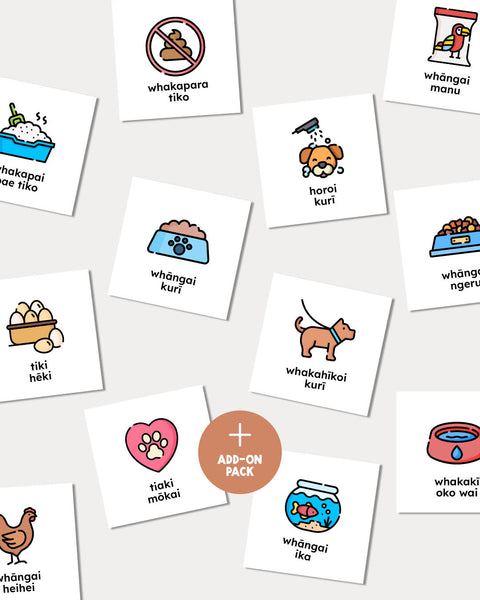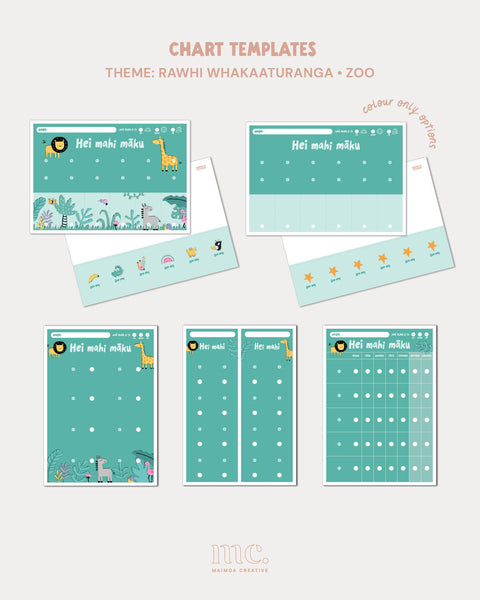
Ok honestly, putting your chart together can be a bit labour-intensive, so my first tip is to set aside an evening (or any calm pocket of time) where you can do it without too many interruptions. The fiddliest part is usually cutting out the cards, so make sure you’ve got a good pair of scissors (or a circle cutter if you’re going with the round cards) and decent lighting.
Second tip: only cut out the cards you actually plan on using. Don’t feel like you need to prep absolutely everything if half of it might never get used. Save that time and energy for getting up to make yourself a cuppa at half time.
I’d also suggest getting your tamariki involved mainly at the beginning and the end of the process. At the start, let them help choose their favourite theme and the routine cards you want to focus on. Then bring them back in at the end to help put the cards onto the chart. Everything in between is usually much easier without the extra distraction, unless of course you’ve got older tamariki who are genuinely good with crafty projects.
Obviously, the more charts you’re making, and the more tamariki you’re setting them up for, the longer it’ll take. But once it’s all done, there’s nothing left to do but use them! And the beauty of having all the files on hand is that if anything gets bent, damaged, or you want to add new routines later on, you can just print more when needed.
So yes, it is a bit of a process, but it also means you can set it up exactly how your whānau needs it. Happy assembling!
What you’ll need
- Printer
- Paper or light card
- Scissors
- Laminator and laminating pouches (optional, but recommended for durability)
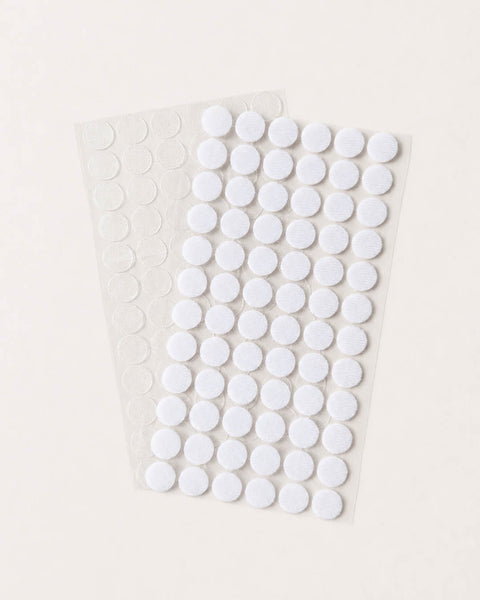
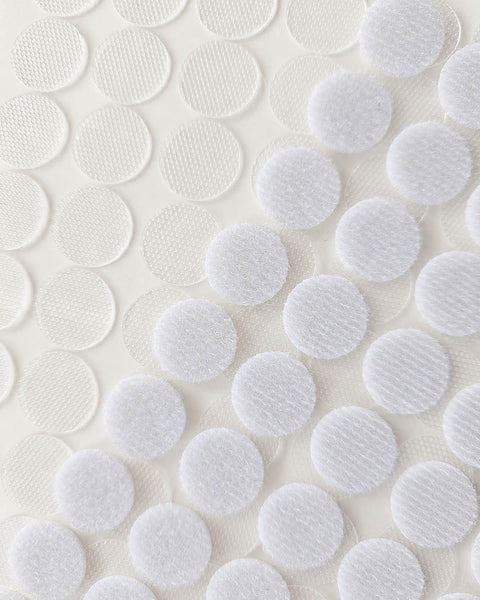
- Small velcro or magnet dots (15mm or smaller works best)
- Circle cutter and cutting mat (optional - if using circle cards)
Assembly time: 30–60 minutes*
*Allow extra time for additional charts & users


1. Print cards & chart(s)
Print out the card sheets and charts that work best for your whānau. Print at Actual Size or 100% scale. Avoid Fit to Page, as this can affect sizing.
Note: You will usually need one set of cards per child, unless your tamariki are sharing a chart.
2. Cut and laminate cards
Only cut out the cards you plan to use. Laminate, then cut again, leaving a small 2–3mm border for better durability.
Note: Circle cards take longer to cut, but they avoid sharp corners poking little hands.


3. Add fasteners to cards
Add a velcro or magnet dot to the back of each card.
Note: If you won’t be swapping cards out, you can glue them straight onto the chart.

4. Trim chart border
Trim around the border, or leave it as is if you don't mind a white border.

5. Fold (flip charts only)
If creating a flip chart, fold along the marked line before and after laminating.

6. Laminate chart
Laminate your chart, then trim if needed. Leave a small 3–5mm border around the outside for better durability.
Note: If you are mixing the modular charts, you can either laminate together (at A3 size), or laminate separately and display side by side.


7. Re-fold and cut (flip charts only)
Re-fold along the crease, then cut along the dotted lines to separate the flaps.


8. Add fasteners to chart
Stick velcro dots where indicated (small circle with cross in the centre).
Note: Make sure the velcro you place on the chart is the alternate side already used on the cards.

9. Add cards and use
Place your cards onto the chart and display it somewhere easy for your tamaiti to see and reach.
Note: Involving your tamaiti in the process can help build independence and a sense of ownership.


Storage tips
Keep extra cards in a small container, jar, or on one of our storage sheets in a clear file folder with extra velcro dots.

Flexible system
You can also use the cards without the charts in your own customised setup, for example on a whiteboard or fridge with magnets.

Jumbo size
If you want larger cards and charts to use with younger tamariki, scale up the cards and charts to fit A3 size when printing.