When I agreed to run a fry bread stall at our tamariki's school Christmas market last year, I was definitely more nervous than excited. I'd never made the recipe at such a huge scale before. I'd also never sold my fry bread. Up until then, I'd only ever made it for whānau, hākari, shared meals, or to gift to others. Charging money for something that had always been an expression of manaakitanga felt a little strange at first.
Thankfully, it all came together. I sold out (350+ fry bread) within a couple of hours, the feedback was great, and for a first attempt at something on that scale, I couldn't have asked for much more.
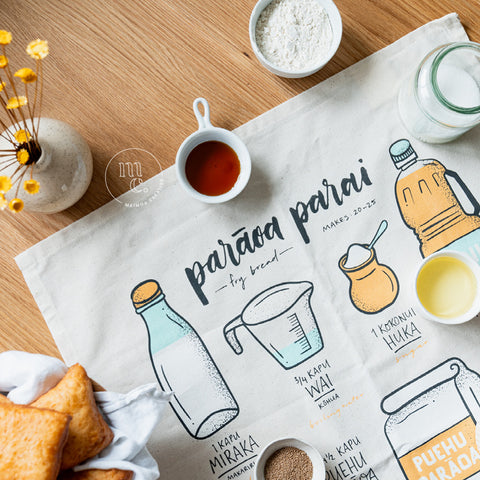
If you're planning to make a large batch for a market, fundraiser, hākari, or community event, here are the biggest lessons I learnt along the way. P.S. if you're also looking for a recipe, then make sure to check out our viral Parāoa Parai Recipe.

Lessons from making 350 fry bread
1. Do the maths first.
One single batch of our recipe makes around 20 decent sized fry bread, so calculate how much of each ingredient you need to make the required amount (plus a little extra just in case).
For 300+ fry bread, here is what my shopping list looked like:
- Milk: 3.5L
- Flour: 8-9 kg
- Sugar: 250g (1x 500g bag)
- Salt: 145g (1 500g bag)
- Yeast: 210g (2x 150g jars)
- Vegetable Oil: 4L (1 L for dough, 2-3 L for frying)
2. Make them fresh.
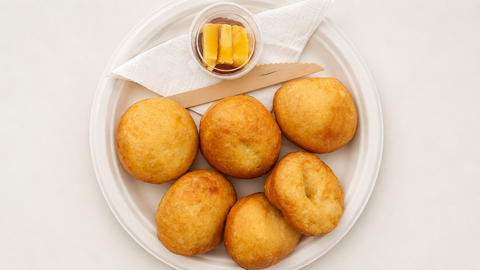
I know it's tempting to make them all the day before...but I HIGHLY recommend making them fresh on the day.
Fresh (and still warm) fry bread is in another league. Wake up before the manu if you have to. It's worth it, I promise.
3. Pre-measure ingredients beforehand.
Pre-measure your sugar and yeast into double batch portions so you can just chuck it in. Weigh your flour instead of using cups. When you're making batch after batch, this saves a lot of time and removes the margin for error if you accidentally forget how many cups you’ve already added.
4. Set up four stations
Before getting stuck into it, you need to prepare a station for 1. Making the dough, 2. Rolling out, dividing dough and leaving to rest, 3. Frying, and 4. Leaving freshly fried batches to rest. Having dedicated stations for each stage helps streamline the process.
5. Use an electric frypan.
If you’re going to be cooking in a place unfamiliar to you, then this helps remove the stress of working with a touchy stovetop. Plus, they are great to fry large batches (I could fry about 14 in one go).
6. Stagger your batches.
Don't make a huge batch of dough at the beginning, as this will mess up the timing. Mix a double batch every 20 minutes or so, so while one rises, another is frying.This way you will avoid the dough from over-proofing. If you have more than one electric frying pan and more helpers, you can do larger batches at a time.
7. Recruit a ringawera
Make sure you have a helper in the kitchen! I was flying solo in the kitchen for 5 hours straight, and although I managed, I would not recommend putting that pressure on yourself 😅
—
I hope these tips save you a little time and a lot of stress next time you need to feed a big crowd.
Mauri ora
x