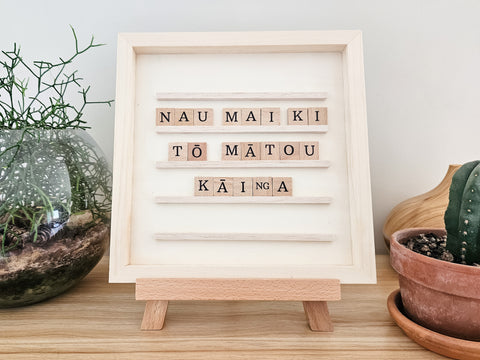
Display te reo Māori in your daily environment with our simple DIY tutorial on creating display boards that keeps your Pakiaka wooden letter tiles beautifully displayed, even when you're not playing the game.
Perfect for showcasing whakataukī (Māori proverbs) or a warm welcome message, these display boards serve as a charming and functional decor piece in your whare or workplace. This guide provides you with a two easy, creative options using materials readily available at local craft stores in Aotearoa, like Spotlight and Kmart.
Whether you choose a simple wooden frame board for a natural look, or a sleek blackboard stand for a bolder option, you'll find all the steps you need to bring a touch of te reo into your space.


Ngā Taputapu | What You'll Need:
Materials- Pakiaka Letter Tiles
- Display Board
- Display Backing/Base
- Balsa Square Rods
Tools
- Craft Knife
- Cutting Mat
- Sandpaper
- Strong Clear Glue
- Black paint & paintbrush (if you're making the blackboard version)
Pakiaka Letter Tiles
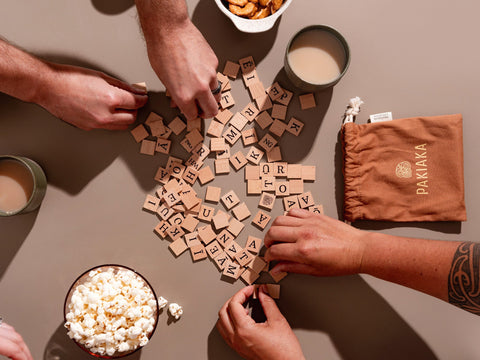
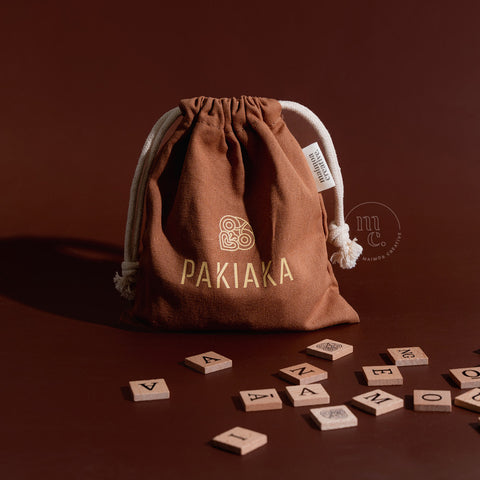
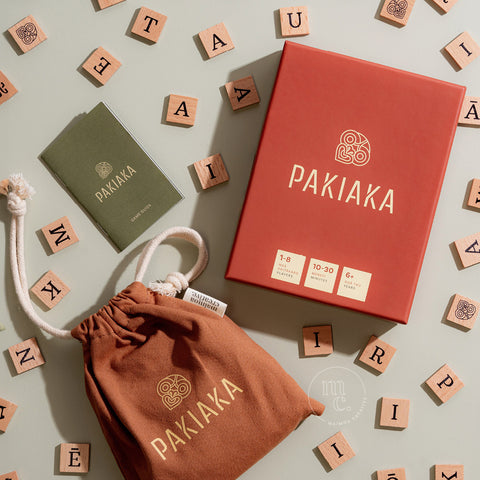
These are the wooden tiles from our Pakiaka game, used to form Māori words or phrases.
Display Board & Backing/Base
Option one: a framed wooden board and easel.
We used:
- Crafters Choice Hanging Wooden Square Multicoloured from Spotlight for $12.00.
- Renoir Miniature Lyre Easel Natural from Spotlight for $18.00.
Option two: a blackboard display kit
We used:
- Mini Standing Chalk Blackboard from Kmart for $5.50.

Balsa Square Rods:
Square rods ensure stability for the tiles. Make sure to choose square rods rather than rounded dowels to effectively hold the letters.
We used:
-
Eco Balsa Square Rod Natural from Spotlight for $5.00.
Size: 6mm x 6mm x 91.5cm

Tool Tips:
Craft Knife: A sharp craft knife is essential for precise cutting of the balsa rods.
Cutting Mat or Wooden Board: Protects surfaces during cutting and ensures clean cuts.
Light Sandpaper: Used to smooth the edges of the cut balsa rods, preventing splinters and ensuring a neat finish.
Strong Clear Glue: We recommend UHU All Purpose Adhesive for its quick drying, clear, and strong bonding properties, ideal for securing the rods to the base.
Instructions
1. Measure: Determine the appropriate spacing and length for the rods, allowing for the 20x20mm size of each tile and additional spacing between lines. For our example, we cut five ledges that fit nicely into the frame and used up the full length of the rod.

2. Prepare Ledges: Measure and carefully cut the rod to your chosen lengths using a craft knife on a cutting mat or board. Balsa wood is quite soft so a craft knife should cut through it fine. Make sure to cut gently and slowly, to avoid damaging and splintering the wood. Sand the ends to ensure they are smooth and flat.
If you have opted for the blackboard base, we recommend painting the ledges black so they blend in better to the board. Apply two coats for a solid finish, and leave one side unpainted for the glue to adhere better.

3. Outline Placement: Lightly mark the base with pencil guides where each ledge should be placed, ensuring they are centered, straight, and evenly spaced. If needed, measure on a piece of paper the same size as the base as a guide.

4. Glue: Carefully apply glue to the back of each rod and press firmly onto the marked areas on the base. Clean any excess glue with a small paintbrush. Apply pressure for at least one minute while it sets.

5. Display: Allow the glue to dry completely before adding the wooden tiles. Arrange your chosen Māori phrase on the rods, spacing the words evenly. Remove the hanging rope (if necessary). Place the board on a wooden easel (or into the blackboard base kit) for angled display. Find a prominent place in your home, shop, or workplace to showcase your board. Swap out the phrases as often as you like, and don't forget to add the tiles back to the game when you want to play Pakiaka!


